
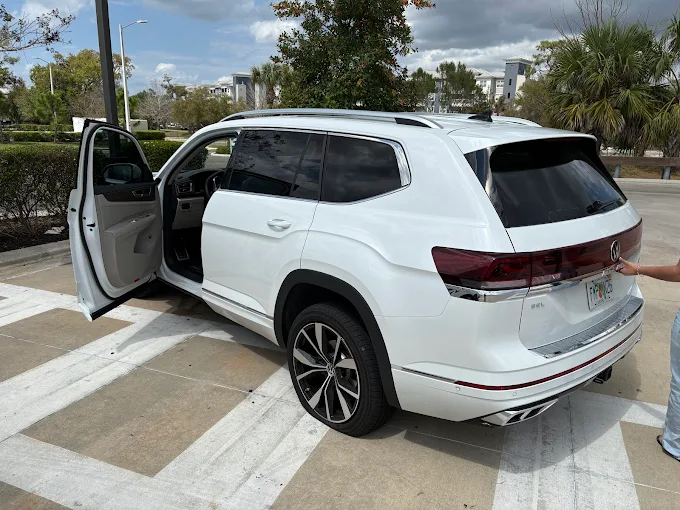
A dead car battery creates immediate stress and disrupts your daily schedule without any warning. Understanding the exact requirements for a proper jump start helps you resolve this frustrating situation quickly. Knowing these essential steps ensures you protect both yourself and your vehicle from potential electrical damage. Proper preparation makes the entire process smooth and completely secure for everyone involved.
Many drivers attempt to revive their vehicles without knowing the correct tools or safety protocols. This lack of knowledge often leads to dangerous sparks, damaged fuses, or completely ruined electrical systems. Learning the right techniques empowers you to handle battery emergencies with complete confidence and total safety. Our comprehensive guide explains everything you need to successfully restore your vehicle power.
Understanding the Basics of Battery Jump Starts
Your vehicle relies on the battery to provide the initial electrical surge needed for ignition. This essential component stores chemical energy and converts it into electrical power to crank the engine. Once the motor runs continuously, the alternator takes over to supply power and recharge the battery. When this delicate cycle fails due to power drain, external intervention becomes absolutely necessary.
Identifying a Dead Battery Status
Recognizing the specific signs of battery failure prevents you from attempting unnecessary repair procedures. You will typically hear a rapid clicking sound when you turn the key in the ignition. Your dashboard lights might appear significantly dimmer than usual or fail to illuminate entirely. Confirming these exact symptoms verifies that a jump start is the appropriate solution for your situation.
Essential Equipment for a Successful Jump Start
Selecting High Quality Jumper Cables
Securing the right equipment represents the most critical factor in restoring your vehicle functionality. You must acquire heavy-duty jumper cables featuring thick insulation and strong conductive copper clamps. Thicker cables carry electrical currents more efficiently and prevent dangerous overheating during the power transfer. Investing in professional-grade equipment guarantees a reliable connection and a significantly safer operational experience.
Choosing a Suitable Donor Vehicle
Finding an appropriate secondary vehicle ensures you have enough power to crank your dormant engine. The donor car must possess a fully functional battery with a matching voltage specification. Using a significantly smaller vehicle to jump a large truck might overwhelm the smaller electrical system. Verifying the compatibility between both automobiles protects the sensitive computer components in each machine.
Utilizing Portable Jump Starters
Modern technology offers an excellent alternative to relying completely on another driver for electrical assistance. Portable jump boxes contain powerful lithium batteries capable of delivering massive starting currents instantly. These compact devices eliminate the need for a donor vehicle entirely during your roadside emergency. Keeping one charged in your trunk provides ultimate peace of mind during unexpected power failures.
Critical Safety Precautions Before Connecting Cables
Thoroughly examining the physical state of your power unit prevents catastrophic chemical reactions or explosions. You must look for severe casing cracks, leaking battery acid, or heavy corrosion around the terminals. If the casing appears swollen or frozen, you must absolutely abandon the jump start attempt immediately. Calling professional roadside assistance remains the only safe option when facing severe physical battery damage.
Positioning the Vehicles Correctly
Arranging the automobiles properly creates a secure environment for the electrical transfer process to occur safely. You must park the functioning vehicle close enough for the cables to reach without stretching. Ensure the two vehicles never physically touch each other to prevent dangerous electrical grounding loops. Engaging the parking brakes on both cars guarantees they remain completely stationary during the procedure.
The Exact Process of Transferring Power
Connecting the Positive Terminals
Executing the connection sequence perfectly represents the most crucial moment of the entire power transfer. You must clamp the red cable to the positive terminal of the depleted battery first. Next, attach the other red clamp securely to the positive terminal of the functioning battery. Making these positive connections tightly ensures the electricity flows efficiently without causing any hazardous electrical arcing.
Grounding the Negative Connection
Establishing a proper negative ground prevents explosive gases near the battery from accidentally igniting. Connect the black clamp to the negative terminal of the good battery to continue the circuit. Finally, attach the last black clamp to an unpainted metal surface on the disabled car engine. This remote grounding location forces any potential sparks safely away from the sensitive battery casing.
Proper Execution and Power Restoration
Supplying adequate energy requires patience and proper timing from the assisting vehicle operator. Start the donor vehicle and allow the engine to idle smoothly for several minutes. Pressing the accelerator slightly increases the electrical output generated by the functioning alternator system. This steady charging period pushes crucial surface charge into the depleted battery before the starting attempt.
Cranking the Disabled Vehicle
Engaging the ignition on the stranded car serves as the ultimate test of your connections. Turn the key and hold it for no more than five seconds during each starting attempt. If the motor hesitates or fails to catch, allow the starter to cool down completely. Waiting a few additional minutes before trying again protects the starter motor from catastrophic heat damage.
Essential Post-Jump Start Procedures
Removing Cables in Reverse Order
Disconnecting the hardware safely requires following the exact reverse sequence of your initial installation steps. First, unclamp the negative ground connection from the unpainted metal block of the revived vehicle. Next, remove the black clamp from the negative terminal of the assisting donor automobile. Finally, detach the red positive clamps from the donor battery and then the recently revived battery.
Recharging the Revived Battery
Keeping the restored engine running prevents you from experiencing an immediate secondary power failure. You must drive the vehicle continuously at highway speeds for at least thirty consecutive minutes. This sustained operation allows your internal alternator to fully replenish the depleted chemical energy reserves. Seeking a professional diagnostic test afterward ensures your battery can still hold a reliable charge long-term.
Conclusion
Mastering the requirements for a successful jump start gives you incredible confidence during stressful roadside emergencies. By understanding the necessary equipment and strict safety protocols, you protect your valuable automotive investment. Following the precise connection sequences completely eliminates the common dangers associated with electrical power transfers. Maintaining proper knowledge ensures you can quickly overcome unexpected breakdowns and safely resume your daily travels.